3DOF Robotic Arm with Inverse Kinematics
This was my first robotics project: a three-servo robot arm that follows the mouse cursor, built in 2021 from balsa wood, an Arduino UNO and a geometric inverse kinematics solver written in Python. Two of the servos position the two-link arm, and the third just keeps the end parallel to the ground.
Moving the mouse moves the arm. The Python script reads the cursor position, maps it to a target point in centimeters, solves the joint angles with plain trigonometry and streams them to the Arduino over serial. I made a video walking through how the whole thing works.
The geometry
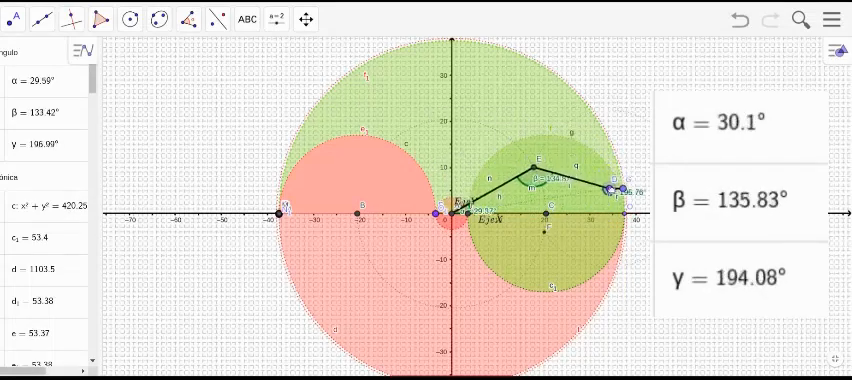
An unconstrained two-link arm reaches everything inside a circle of radius L1 + L2, in my case 18.3 cm and 12.7 cm. With 180° servos in both joints the reachable region is smaller: most of the lower half disappears, a blind circle of radius L1 - L2 sits around the base, and parts of the plane are only reachable with one of the two elbow configurations. I mapped the whole region out in GeoGebra before writing any code.

Solving a reachable point D is a circle intersection problem: one circle of radius L1 around the base, another of radius L2 around D. Where they intersect is where the elbow can be. The standard two-circle intersection equations give that point, the shoulder angle is then an arctangent, the elbow angle comes from the law of cosines, and a third angle keeps the end of the arm parallel to the ground, the same job the hand joint does on my later arms. The code repeats this with sign adjustments for each quadrant, and targets outside the region are never solved at all.
From the mouse to the servos
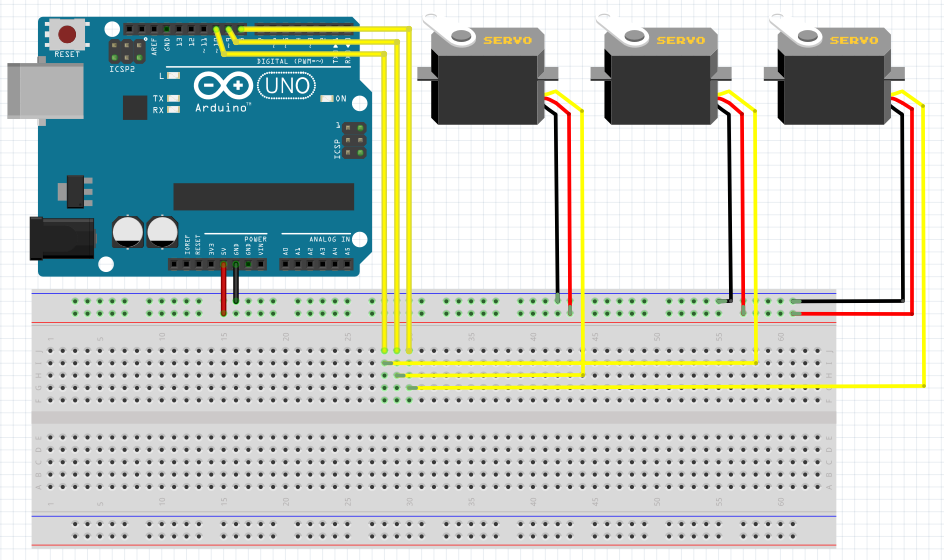
The Python script polls the cursor with pyautogui, maps screen pixels to roughly ±31 cm, solves the angles and packs them as three bytes over serial at 9600 baud. The Arduino receiver is 30 lines: read three bytes, write three servos. The value 255 is reserved as a sentinel for unreachable targets, in which case the arm holds its position. The servos are strong enough that the Arduino's 5 V pin alone does not always cut it, so the servos run off a 6 V pack of AA batteries that shares ground with the board.
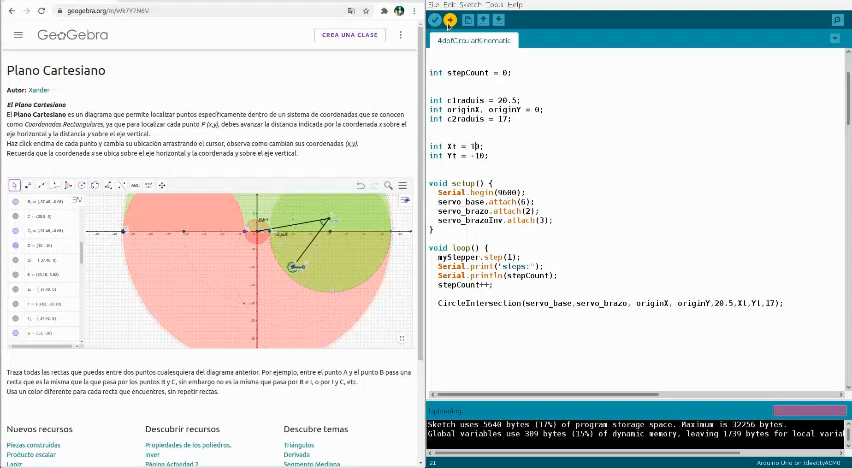
The first time the whole chain worked end to end, I recorded it.
The build
The arm itself is hand-cut balsa wood, painted red, with the servo horns screwed into pockets in the links. The base servo sits under a metal plate from a robot car kit, and everything mounts on a plywood board with the component layout drawn on in marker.
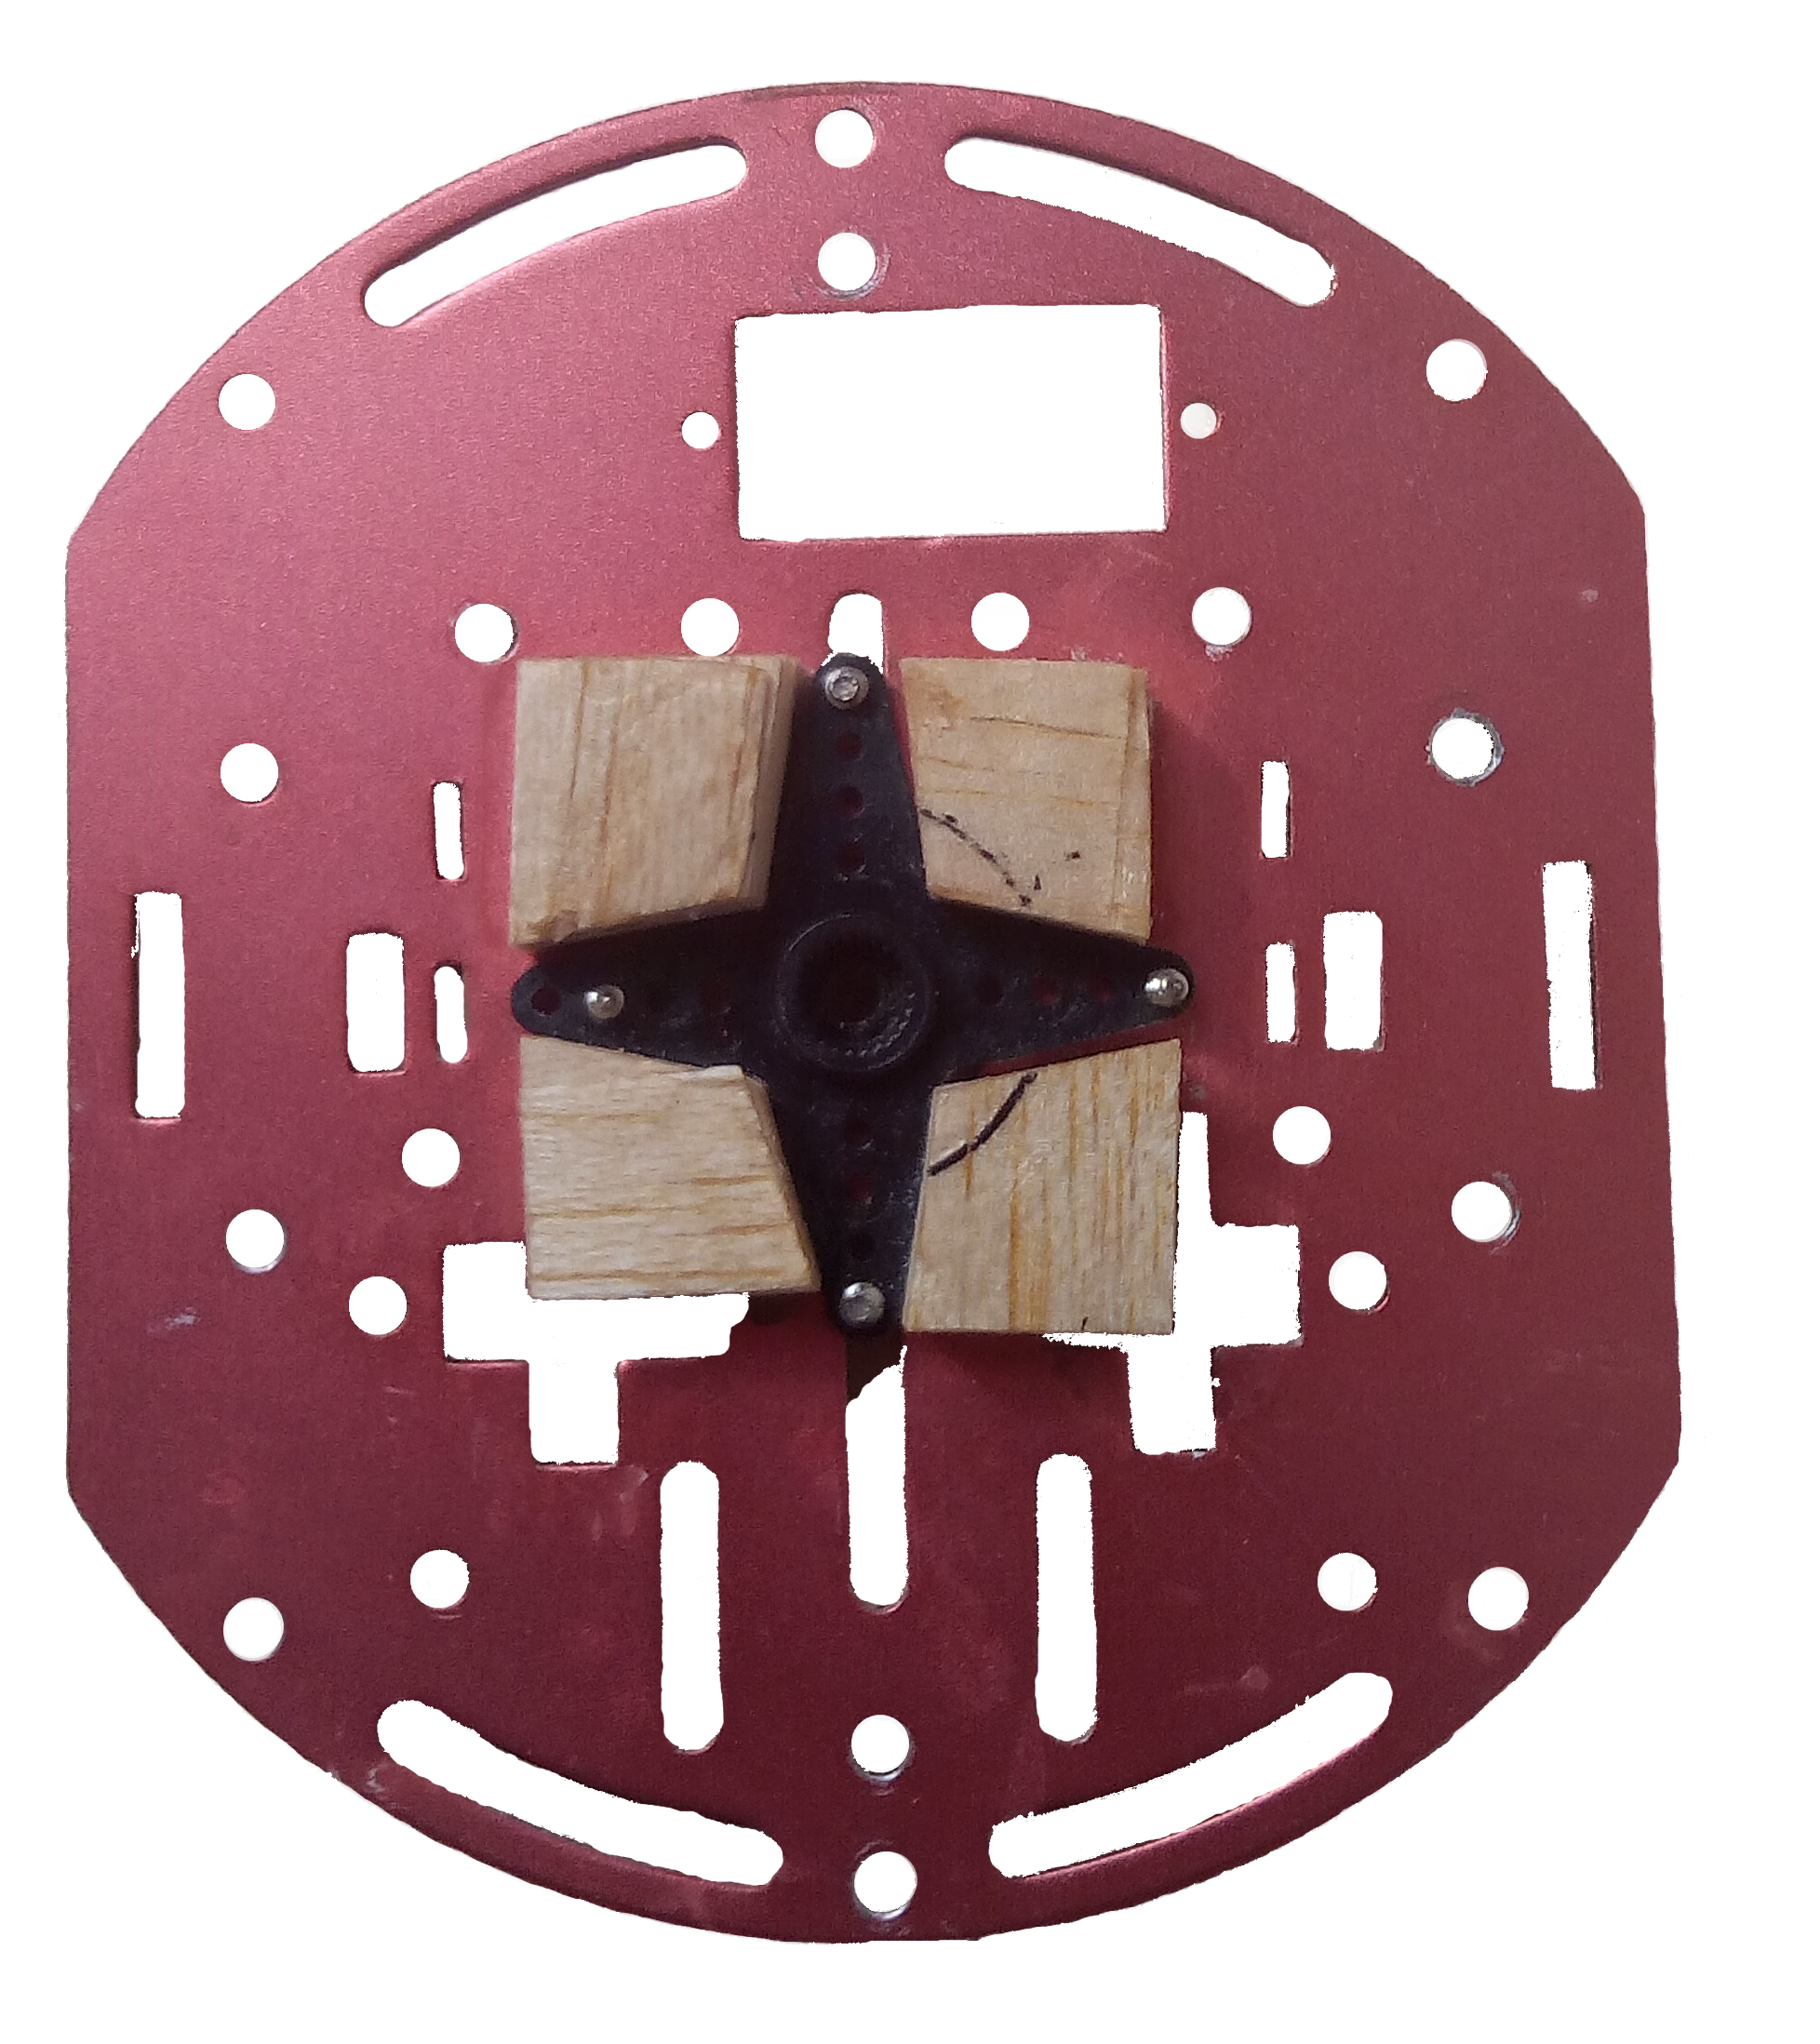
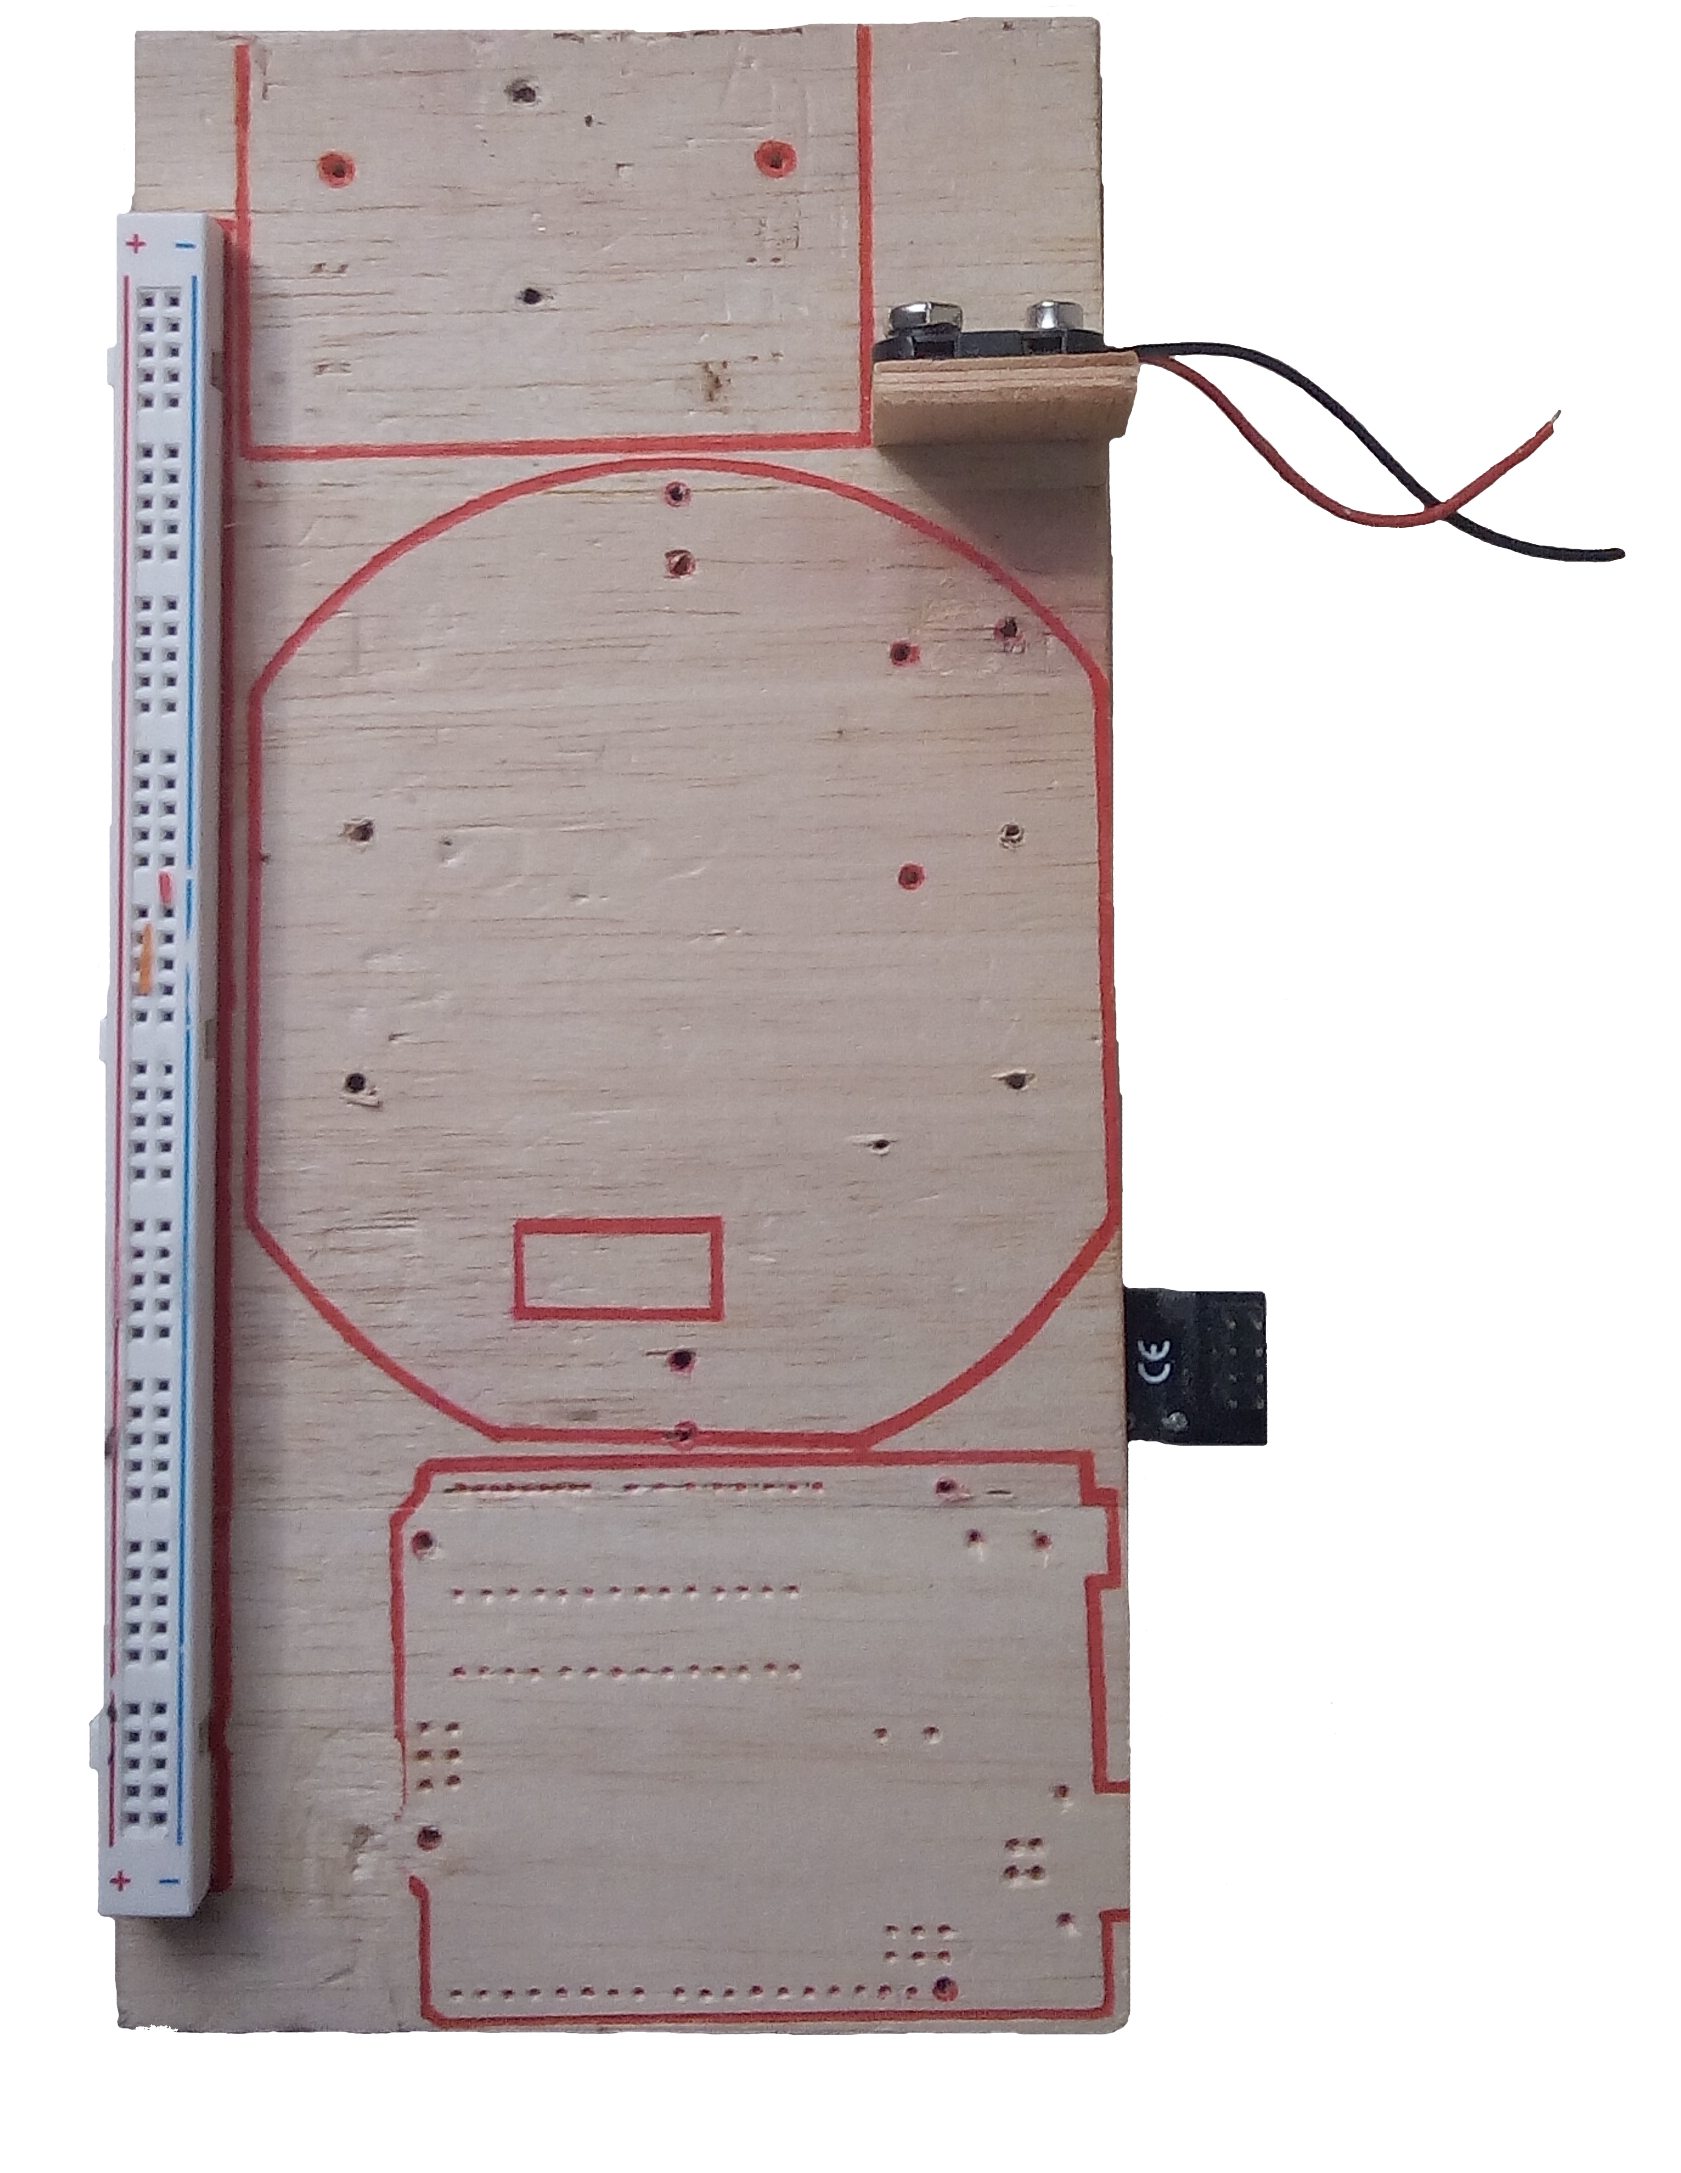
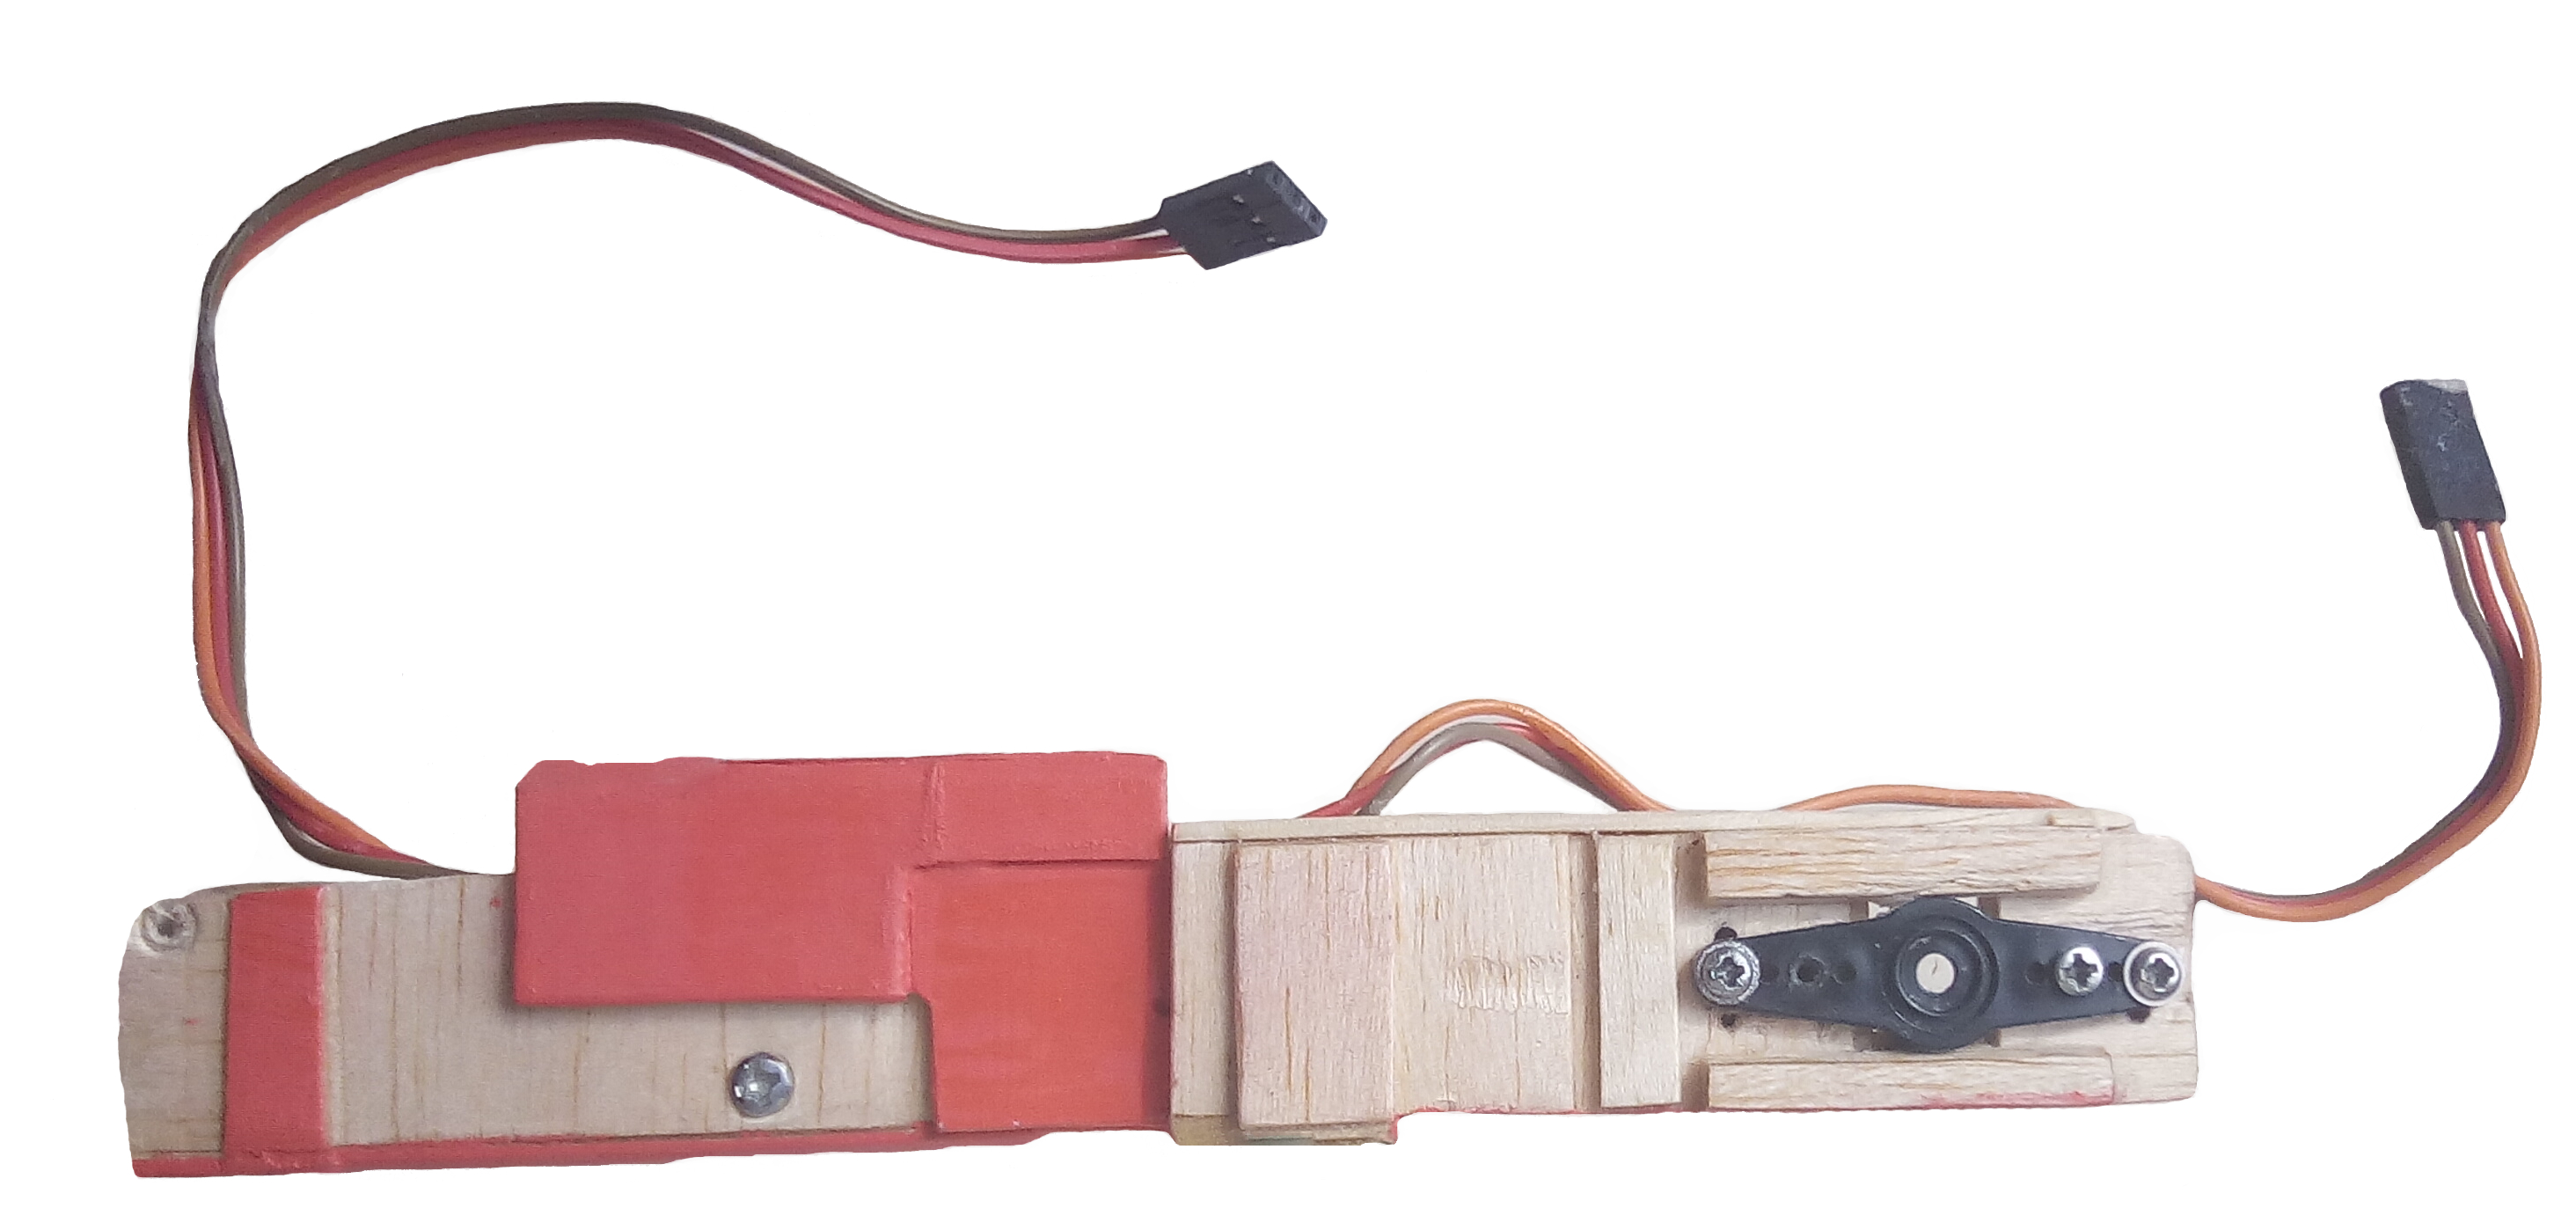

It is rough, but it was my first robot, and the geometry in it is the same one I have used since.
The Python solver and the Arduino receiver are on GitHub: github.com/alerest285/3DOF-Robotic-Arm.
Both project videos are on YouTube: the project walkthrough and the serial communication test.